
 Hi guys! I hope you all are having a wonderful day :) Today I have a DIY that is probably my favorite one I've ever done. I got this idea from Pinterest, it's not my original idea, but I thought I'd recreate it for you. It's literally so cheap, but looks like a $15 or $20 dollar mug you would buy from Starbucks. They also only take about 5 minutes to make. Oh and by the way, these mugs aren't super glittery but the spray paint was kind of metallic which made them look a little shimmery. You could use any color spray paint you like, but I just thought the gold looked nice. Anyway, let's jump into the DIY!
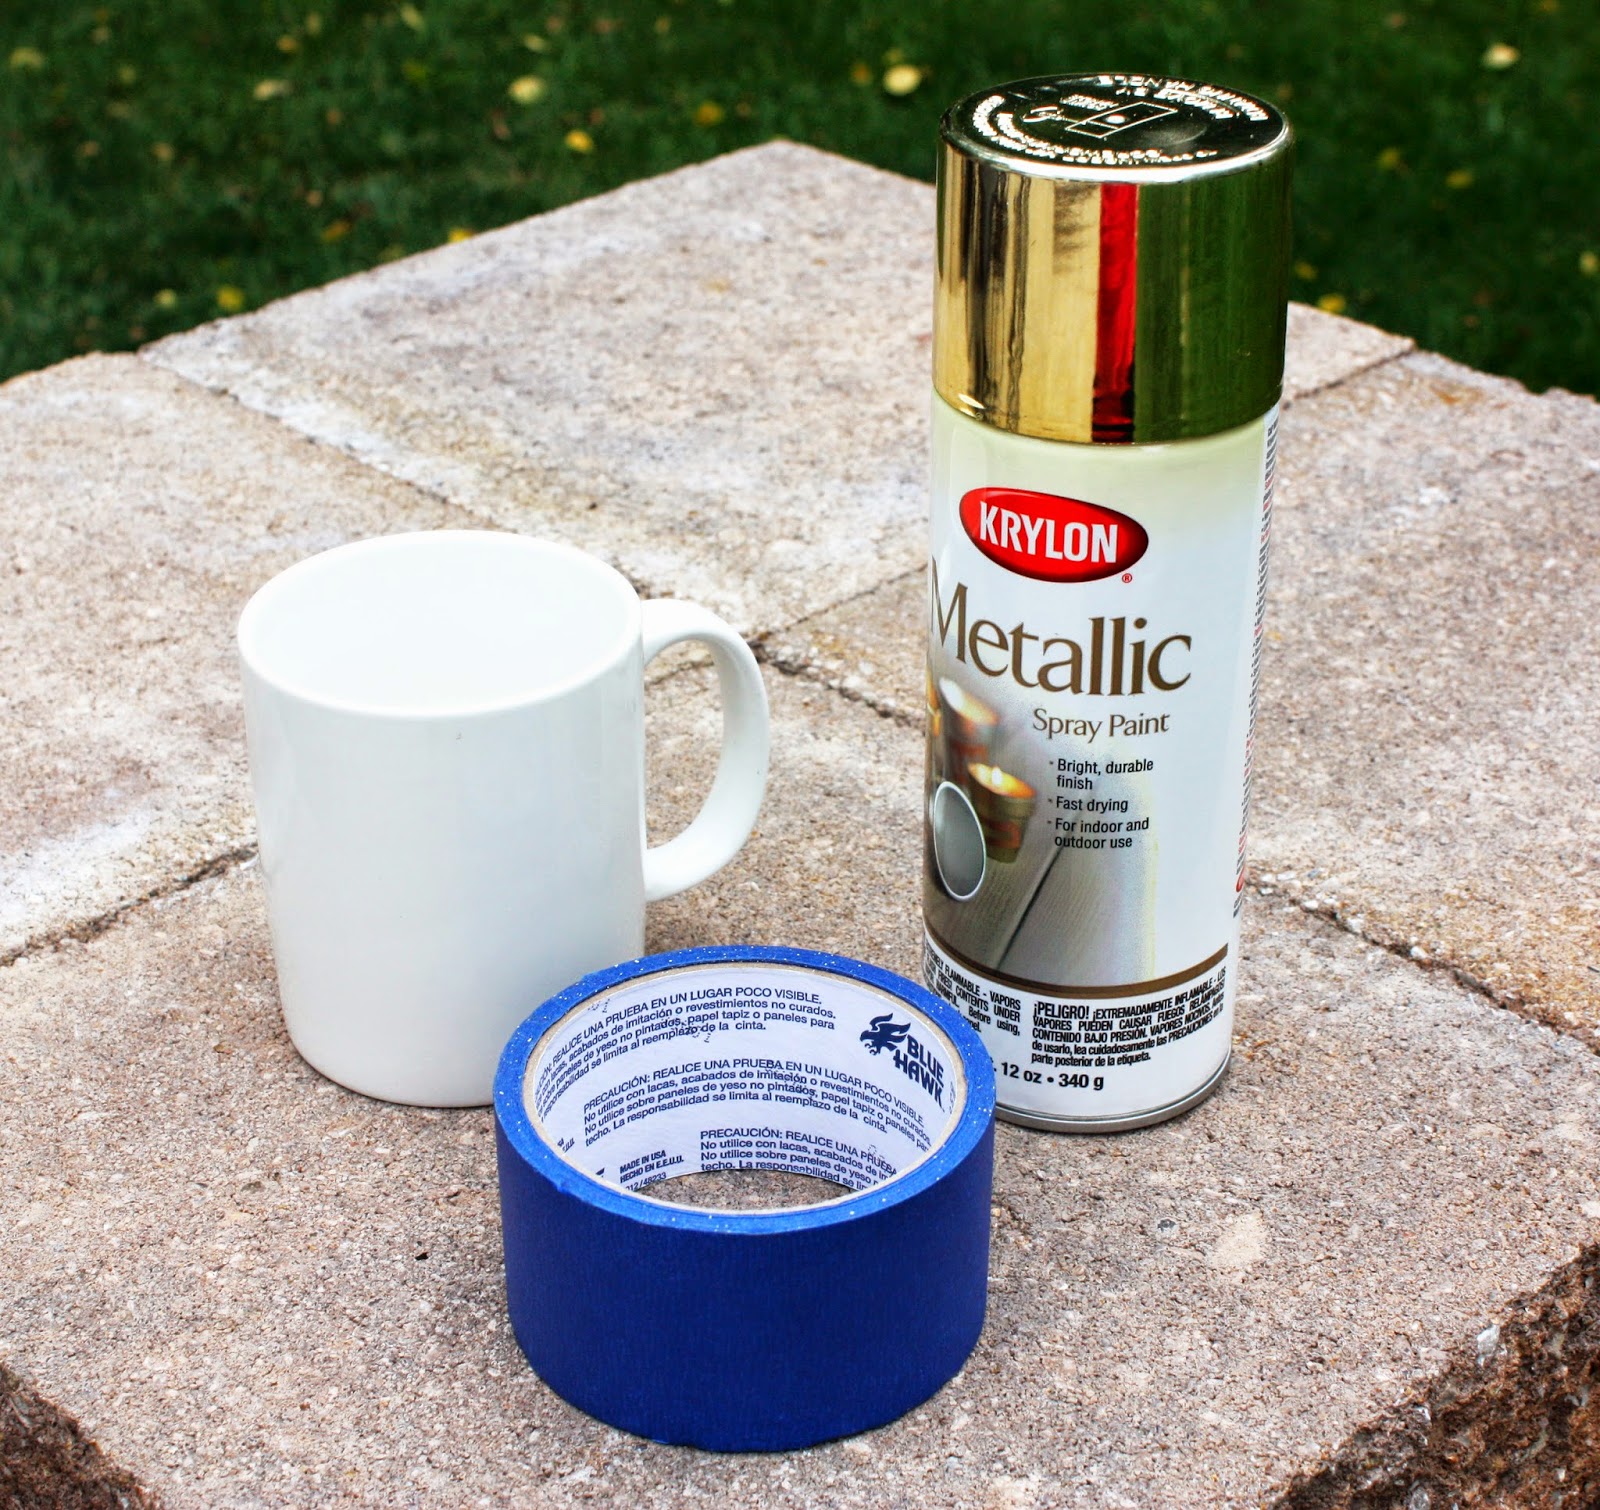
MATERIALS:
1. Plain white mug (I bought mine from Michaels for $2: http://www.michaels.com/creatology-personalize-it-mug-kit/10267313.html#q=mug&start=1)
2. Metallic gold spray paint (I bought mine from Michaels for $6.50: http://www.michaels.com/krylon-metallic-enamel-gold/10568121.html#q=metallic+gold+spray+paint&start=2)
3. Painter's tape (I already had some at my house, but you can buy this at any hardware store or craft store)
DIRECTIONS:
1. First, you're going to need to wrap tape around the mug about an inch above the bottom. Wrap the tape all around the mug and make sure you have an even line across the entire rim. Also, make sure to cover the top of the mug so the inside stays clean.

2. Now, you can go ahead and get that spray paint out. Go to a place where it doesn't matter if the ground turns gold. Place the top of the mug on the ground so that the bottom faces up. I started by spray-painting the little part of the handle that was showing. Hold the spray paint about 6 to 8 inches away from the mug and coat it so that there are no white parts showing. Now, go ahead and spray the rest of the mug (again, make sure to spray all white parts of the mug so that it isn't opaque or transparent).


3. Ok, this step is VERY IMPORTANT! Make sure to take the tape off of the mug immediately after you finish spray-painting it. I made the mistake of waiting too long before removing the tape when I made the first mug.The gold paint kind of tore I guess and the edges become rough (you can see the rough first mug I tried in the picture below haha). The second mug turned out much better, though. Anyway, after you remove the tape, you're pretty much done with the hard part.

4. LAST STEP! Pre-heat your oven to 200 degrees Fahrenheit. Place the mug upside-down on a cookie sheet and bake it in the oven for about 20 minutes. This will act as a way of setting the paint and baking the paint into the mug. I still wouldn't put the mug in the dishwasher, but this will help preserve the life of your mug. I haven't tried washing these yet, so hopefully all the paint doesn't come off.

You're all finished now! The total cost to make one mug, including the spray paint, is about $8.50. The mugs are only $2 and the spray paint could probably make about 20 of those mugs so these would be amazing gifts for friends or family or just for you to enjoy :)


I hope you guys enjoyed this blog post and hopefully you guys will be able to try this out! If you do try it out, comment below. Also, post it on Instagram and be sure to tag me so I can see the beautiful mugs! Be sure to follow me on all my social media and have a great day!
Social
Media Links:
Follow me
on Bloglovin’: http://www.bloglovin.com/brandygirlblog
Follow me
on Instagram: http://instagram.com/brandygirlblog/
Follow me
on Pinterest: http://www.pinterest.com/brandygirlblog/
No comments:
Post a Comment